the interplay of sunlight and clouds sometimes results in interesting shots… some days ago, parts of the sky was cut in two pieces:

the interplay of sunlight and clouds sometimes results in interesting shots… some days ago, parts of the sky was cut in two pieces:
sometimes, we can observe quite dramatic sky panoramas:

after recently installing arch linux on my laptop (a thinkpad x230), i was first quite happy. but after some time, i noticed some flaws. first of all, having to do so many things by hand is somewhat annoying. if it would be just about installing software: no big deal (for me). but it is also about configuring stuff, like deciding between networkmanager and the arch-specific command line wireless setup, which is installed by default. switching to networkmanager was quite annoying, and in the end didn’t work very well (one anecdote: at some point, i had to reboot to get plain eth0 working again – reconfiguring by hand might have worked, but you don’t always have time to do that). and also power management was not so good, after trying some things i finally had a system which, coming back from suspend, waited a few seconds (usually enough to enter my password and unlock the computer) and sent it back to suspend. after the next unsuspend, there was no password protection left…
the final kick came when i tried to install hugin: it simply didn’t work. at all. pacman always gave up without an understandable error message. great, eh? at that point i decided to try linux mint another time.
last weekend, i first tried to install linux mint debian edition (lmde) on my laptop. it has the advantage of being a rolling release distribution. well, the installer doesn’t support harddisk encryption, but it allows you to do that by yourself. after having managed that with arch linux, i tried it. basically, at two points during the installation process, the installer lets you do some stuff – set up and mount partitions in the first stop, and installing packages/modules and setting up stuff for the first boot in the second stop – and waits for you to press the “forward” button. unfortunately, during the second stop, the “forward” button was grayed out. i hoped that maybe the installer enables it when time comes, but after doing everything (hopefully) and waiting, nothing happened. great, eh? well, i searched around the net, but found nothing. the only thing i found was a blog entry announcing lmde 201303 (which i was trying to install) with the note “please use this blog to report bugs”, which is nice, but not when you notice that comments are disabled. at that point, i gave up and downloaded a linux mint 15 image instead…
installing that one went quite smoothly. of course, again, the installer didn’t support using my encrypted setup (seems to be implemented nowhere, except in the old ubuntu alternate installer which is discontinued. yay, the good old times when stuff just worked out of the box!). mounting stuff before starting the installer (i also had to install the lvm2 package), the install went well, before rebooting, though, i had to do some new tricks. after trying around unsuccessfully for some time, i finally found a question on askubuntu.com, whose accepted answer provided the solution for me: it explains how to set up /etc/crpyttab, initramfs and grub to ask for a password on boot-up and unlock the encrypted disks (see also below in this post). with these steps, i was able to boot the newly installed linux mint 15, and from that point on, everything went well.
most stuff worked out of the box, and all packages i wanted to install actually existed (arch linux doesn’t have mmv by default, for example), and both wine and hugin did work out of the box. the only very annoying part was that linux mint screwed up my firefox profile. it created a new profile and changed the .mozilla/firefox/profiles.ini to only use the new profile. after modifying that file, i had my old profile back. after that, i was happy, and after a couple of days with wlan/vpn field test (i never even got so far to try vpn on arch linux), i’m opting to keep linux mint 15 for some while. i guess i’ll also install it on my desktop (replacing ubuntu 12.04 lts).
(actually, for desktop machines, arch linux will function much better, since there you don’t need fancy stuff like wireless setup, power saving etc. nonetheless, after the experience i had i won’t try it again for some time…)
before i forget how this was done, or maybe askubuntu gets rid of the question and answer, i’ll document the necessary steps i had to do here (all paths are relative to the installed system’s root):
/etc/crypttab with a line like this:sda2_crypt UUID=... none luksls -la /dev/disk/by-uuid/. then you can see which uuid is mapped to which device. another (somewhat unrelated) useful tool is lsblk, which shows your current device and filesystem topology./etc/initramfs-tools/conf.d/cryptroot containing a similar line:CRYPTROOT=target=sda2_crypt,source=/dev/disk/by-uuid/.../dev into the new environment by runningmount -o bind /dev /target/devtarget with the path to the new system’s root directory.)chroot the environment, and run the following commands:1mount -t proc proc /proc 2mount -t sysfs sys /sys 3mount -t devpts devpts /dev/pts 4locale-gen --purge --no-archive 5update-initramfs -k all -c
/etc/crypttab. you can usually ignore this.)
GRUB_CMDLINE_LINUX in /etc/default/grub to something likeGRUB_CMDLINE_LINUX="cryptopts=target=sda2_crypt,source=/dev/disk/by-uuid/...,lvm=sda2_crypt"sda2_crypt if necessary and filling in the correct uuid.chroot environment, run update-grub.after this, it should work. maybe you also have to install cryptsetup and/or lvm2 in the chroot environment, if it wasn’t already done by the installer.
anyway, i’m really looking forward to the moment when most distribution installers know how to (again!) deal with existing luks/lvm installations. i hope it won’t take as long as it took for basic hdd encryption find its way into the graphical installers in the first place. (that was, like, forever! and without an initiative of the eff, it might really have taken forever.)
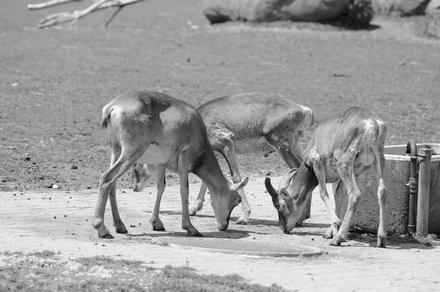
this weekend, the apv zo visited the wildpark bruderhaus in winterthur. the weather was great, and except for the lynxes, we saw all animals we planned to see: sika deer and fallow deer, european bisons, wild boars, red deer, przewalski’s horses and gray wolves.


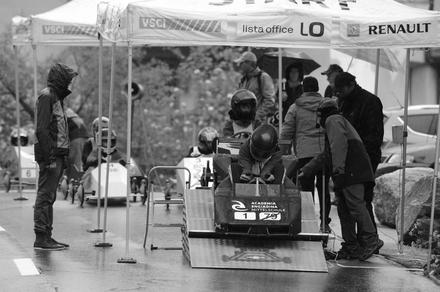
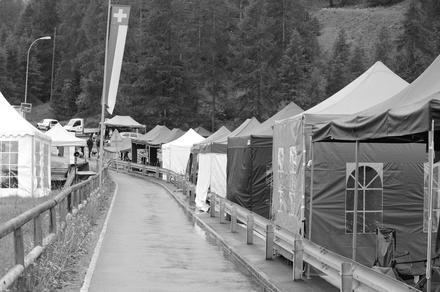
while staying in val bregaglia, we also visited the engadine soap box derby from st. moritz down to celerina. unfortuntely, on that day, the weather was quite crappy – it was quite wet. (apparently it was dry before we arrived… hope it wasn’t us who brought bad weather :) )
anyway, we watched one of the rounds, and i took some photos. here’s a small selection:


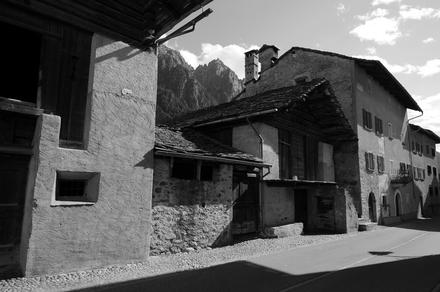
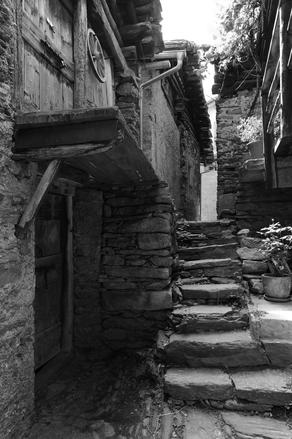
last week, we were in vacation in val bregaglia, a valley half belonging to graubünden, switzerland and sondrio, italy. we were staying in vicosoprano on the swiss side.
most of the time, we had fabulous weather, except two rainy days and one pretty cloudy day.
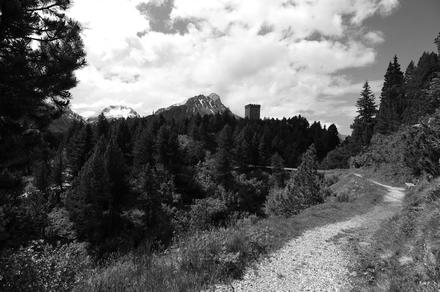
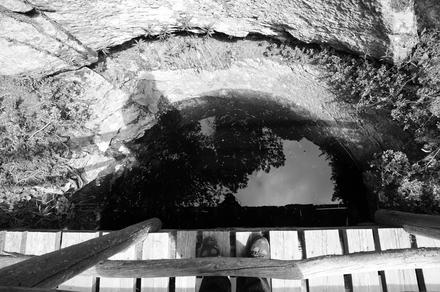
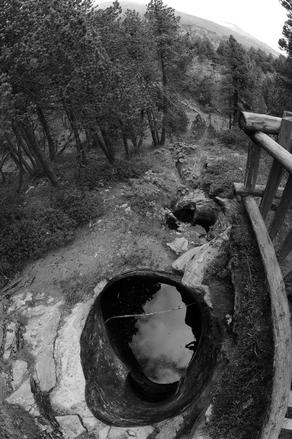
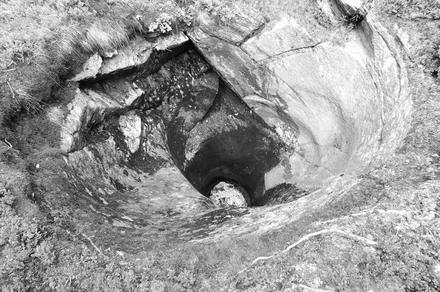
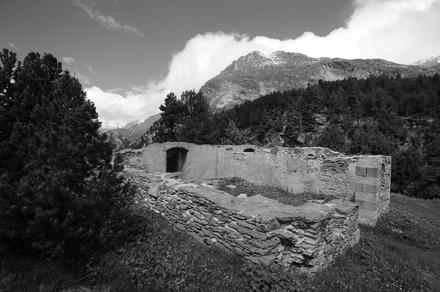
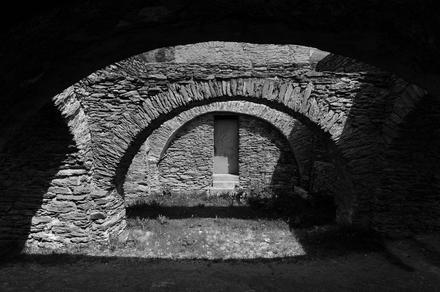
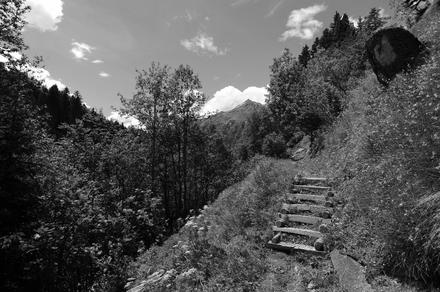
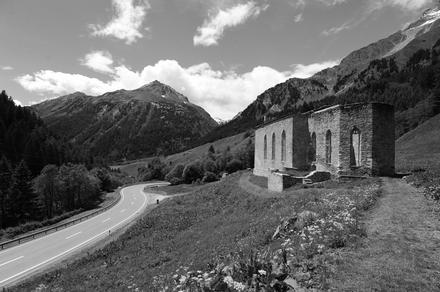
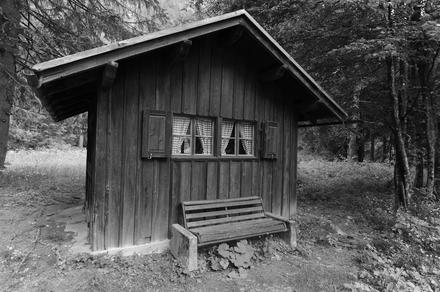
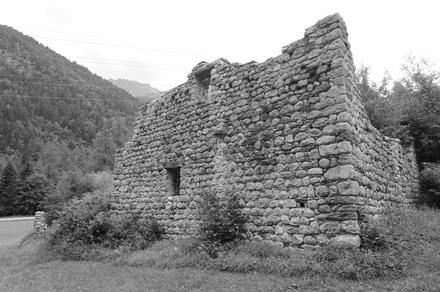
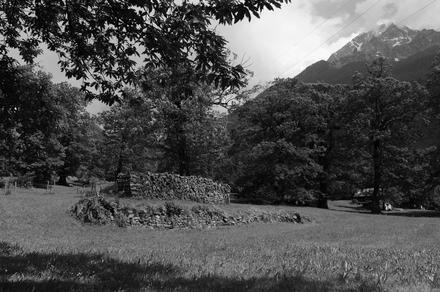
the first hike we did was going by postauto up the maloja pass to maloja village, walking from there to the giant’s kettles nearby and from there to the belvedere tower, and then down the pass towards the san gaudenzio ruin and finally until casaccia, from where we continued by postauto.
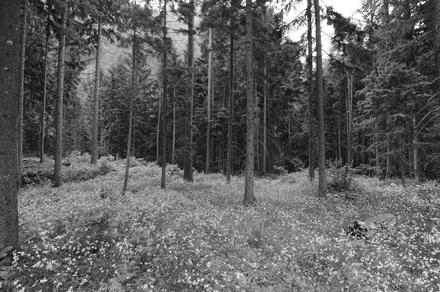
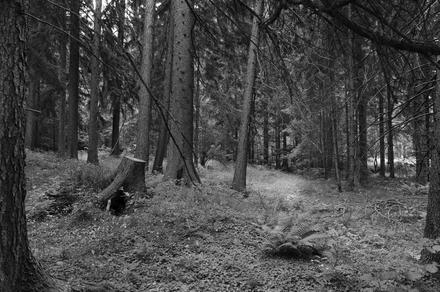
this is the first leg of the via bregaglia route. this leg is really nice, with some glimpses over the valley (for example, at belvedere tower, and above casaccia, where you have a good view on the albignia lake dam), a lot of forests and shade, and nice rivers. parts of it go quite steep downhill, but even for untrained beginners as us, it was quite manageable.


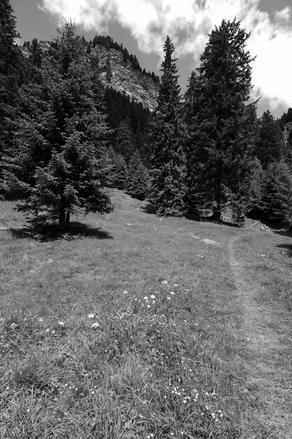

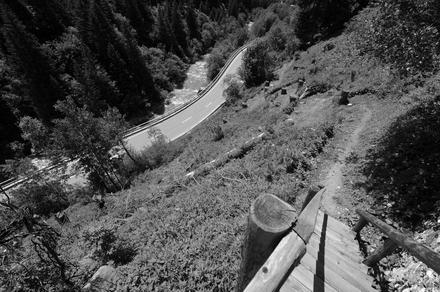


the second bigger hike we did was the via panoramica (the yellow path there) from the power plant löbbia towards northwest of vicosoprano, from where we descended back down to vicosoprano. near the power plant, we saw a sign forbidding arnie to walk on the water:
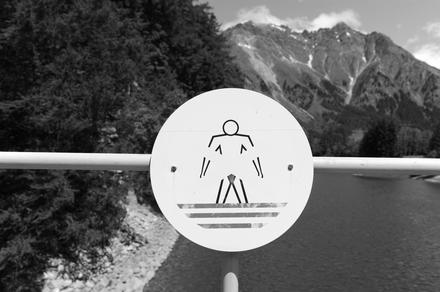
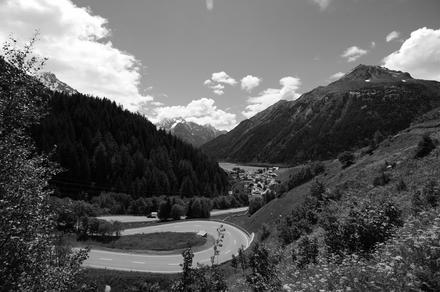
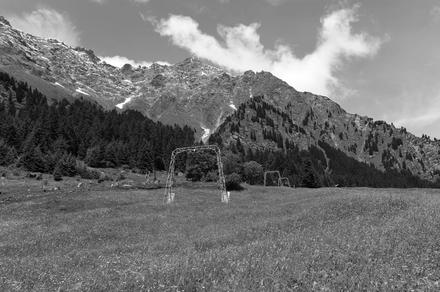
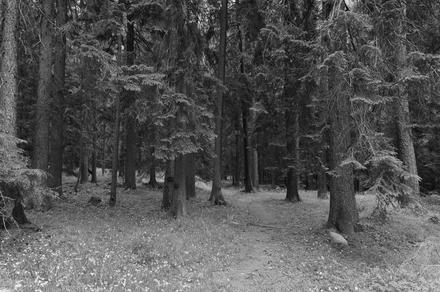
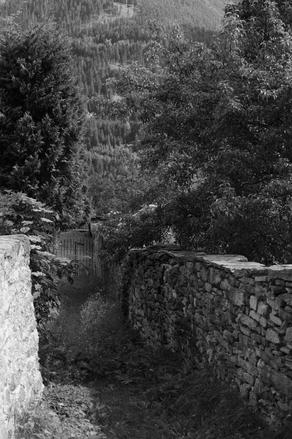
whyever they put up that sign… crossing the bridge from the löbbia stop to the other side of the water basin, one enters the via panoramica and can continue to roticcio and from there on to eventually soglio. we left the path somewhere northwest of vicosoprano. (if you have a map, it’s the leftmost path leaving the via panoramica descending downwards to vicosoprano.) this is a really beautiful hike, with lots of nice overviews over the valley and on the mountains.


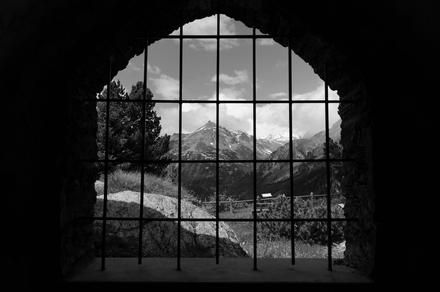
another day, we took up the cable car to the albignia lake dam. one can also hike all the way up or down, but i think that one is a bit over our capabilities… so instead, we enjoyed the little tiny cable car. on the top, one could still find patches of snow, and one has a beautiful panorama both over the valley and over the lake.


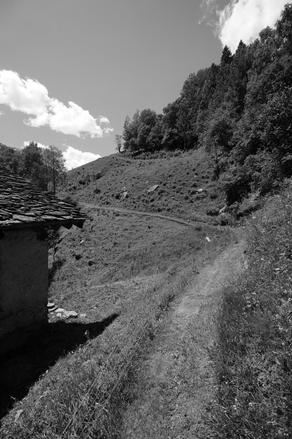
unfortunately, on that day, it was pretty cloudy, so we decided to not hike to the albignia hut (that’s something we’ll do next time…), but take the cable car back down and hike from there back to vicosoprano:

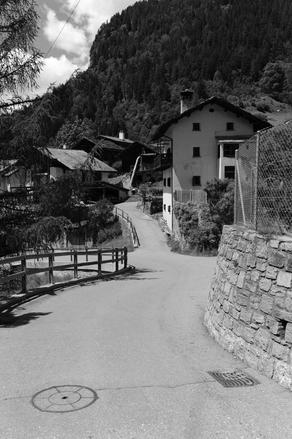
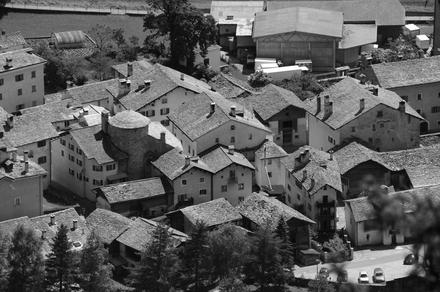
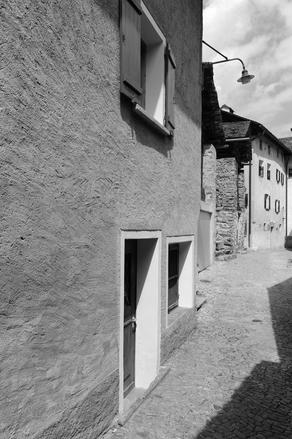
one day, we took the postauto up to soglio, a cute mountain town:


afterwards, we returned by postauto to promontogno and had dinner there.
another trip we did was to visit castasegna. they have a beautiful chestnut exploration path, which shows how chestnuts are planted, harvested and dried. also with a chance to buy honey from around there at a self-service stand.


back in town, we bought some drinks and met a nice cat with wonderful blue eyes.
after being in castasegna, we visited chiavenna, the largest town in val bregaglia, ending the valley at the italian side. we had dinner there, but unfortunately, the restaurant we chose didn’t start serving dinner before 19:00, and the last postauto left short after 20:00…


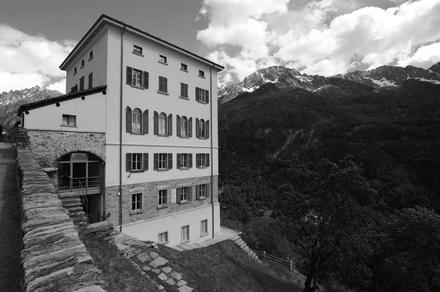
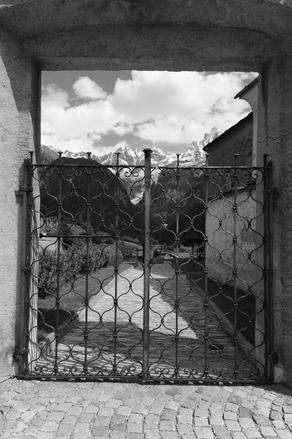
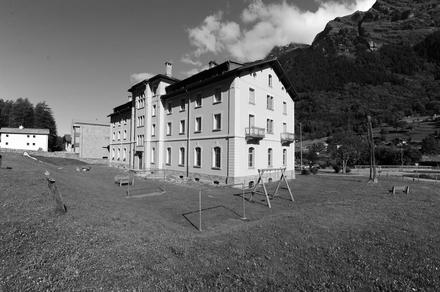
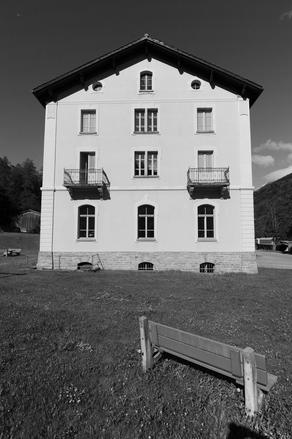
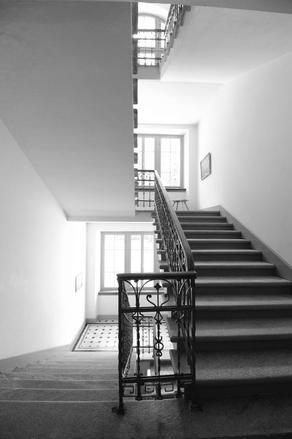
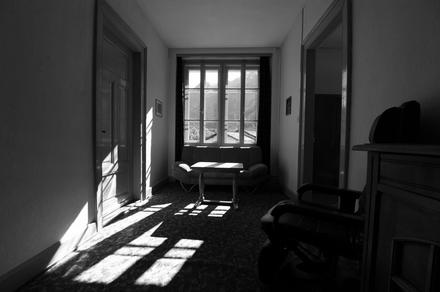
in vicosoprano, we stayed in hotel helvetia, a former hotel west of the city. while parts of it are used for offices, the other part is rented as holiday flats. it is equiped with a simple kitchen for self-catering, and without much luxury features everything one needs to have a good week there. and in case one is too lazy to cook for oneselves, there are two hotels with restaurants in town, for example hotel corona, where we had three excellent dinners.


today, i finally got around to try arch linux with xfce4 on my laptop. and considering how it looks, i will also install it on my desktop computer on the next reinstall. (currently, it still has ubuntu with xfce4 installed. and in case you wonder why i decided to try out a new system on my laptop: i’ve been using linux mint 14 the last couple of months, and was pretty unhappy both during install – setting up full disk encryption was somewhat annoying – and finally when trying to install wine recently, which simply didn’t work.)
i followed the beginner’s guide, which essentially told me what to enter on the console to set up arch linux. (note that arch linux does not come with a graphical install, you have to type a lot of commands in yourself. but apart from that, it actually works like a charm. so if you’re not scared by using the command line, it’s worth a try.)
there’s also a arch wiki entry about encrypting a lvm setup, which is what i was doing and wanted to continue doing – for example, to not again restart by copying all my data to the machine, but by simply re-using the encrypted partitions layout set up before. for the way i (and ubuntu) was doing it, that wiki entry pointed to a blog post by simon dittlmann, which explains how to set up a huge encrypted partition, which will contain a lvm (logical volume manager) group with root, home and swap partition. unfortunately, the blog post is somewhat older, and apparently the whole installation procedure of arch linux changed somewhat, so i had to improvise.
in order to create an up to date documentation on how to install arch linux with full disk encryption, both discussing how to create such a setup and how to install arch linux in an already existing such setup.
first, follow the beginner’s guide up to the step “prepare the storage drive”. at this step, you have to do something else.
(in case you already have a working set-up, skip the next steps until the mark.)
follow the steps described in the beginner’s guide, create a small boot partition – this one will not be encrypted. i assume that it will be /dev/sda1. it should be a simple ext3/ext4 partition. (i usually give it 256 or 512 megabytes.)
then, create another partition (i assume it will be /dev/sda2), which consumes the whole left-over space on the hard disk. first, you should clear everything on that partition, preferably with random bits. you can for example do:
dd if=/dev/urandom of=/dev/sda2
this will take quite some time, though. alternatively, you can skip this step, and later, after encrypting the partition, overwrite the encrypted partition with zeros. (look down below for that.) afterwards, set up encryption on /dev/sda2:
1modprobe dm-crypt
2cryptsetup --verbose --cipher aes-xts-plain64 --key-size 512 --verify-passphrase luksFormat /dev/sda2
(edit: since there is now a successful attack on the aes-cbc-essiv encryption mentioned here earlier, i changed it to aes-xts-plain64, using a different approach.)
(mark: skip until here if you already have a working set-up.)
now you can unlock the encrypted disk:
cryptsetup luksOpen /dev/sda2 lvm
(skip almost everything of this section if you already have a working set-up. the only thing you should not skip is the mounting below and enabling swap with swapon.)
after unlocking the encrypted volume, you have to create a volume group and logical volumes inside it. first, begin by creating a physical volume, which will contain the logical volumes. for that, we use the encrypted partition /dev/sda2, whose contents can be accessed by /dev/mapper/lvm. do the following:
1lvm pvcreate /dev/mapper/lvm
2lvm vgcreate vgroup /dev/mapper/lvm
vgroup with any name you want. i replaced it with the (future) hostname of my laptop. now you can use the following commands to create logical volumes. there should be at least one volume for root (/) and swap. i recommend to also create a volume for /home, so that your personal files are separated from the operating system and you can simply wipe out the operating system when you want to install a new one by formatting root, but not home. for such a setting, the commands are as follows:1lvm lvcreate -L 16GB -n root vgroup 2lvm lvcreate -L 16GB -n swap vgroup 3lvm lvcreate -l 100%FREE -n home vgroup
vgroup if you used a different name above. you can also choose different names after -n. the next step is to format the data partitions as in the beginner’s guide:1mkfs.ext4 /dev/mapper/vgroup-root 2mkfs.ext4 /dev/mapper/vgroup-home
1mkswap /dev/mapper/vgroup-swap
2swapon /dev/mapper/vgroup-swap
finally, let us mount the partitions to install arch linux on them:
1mount /dev/mapper/vgroup-root /mnt
2mkdir -p /mnt/home /mnt/boot
3mount /dev/mapper/vgroup-home /mnt/home
4mount /dev/sda1 /mnt/boot
(you only need the mkdir if you created a new set-up. also, in case you created more logical volumes, you have to adjust the commands above.)
from this point on, you can follow the beginner’s guide to install arch linux from this point on. continue until the point of creating an initial ramdisk environment. there, you must edit /etc/mkinitcpio.conf and modify the HOOKS statement from
HOOKS="base udev autodetect modconf block filesystems keyboard fsck"
(or something similar) to
HOOKS="base udev autodetect modconf block encrypt lvm2 filesystems keyboard fsck"
note that you must insert encrypt lvm2 in precisely this order somewhere before filesystems. afterwards, continue with running mkinitcpio -p linux (or continue editing the config file if necessary).
now you can continue with setting the root password.
the next step where you have to pay attention is the step where you set up the boot loader. i chose grub here. set it (or syslinux) up as described in the beginner’s guide. in the case of syslinux, you have to modify /boot/syslinux/syslinux.cfg, and in the case of grub, you have to modify /boot/grub/grub.cfg. in the case of syslinux, you should have two entries (regular system and fallback)
APPEND root=/dev/mapper/vgroup-root ro
for syslinux and
linux /vmlinuz-linux root=/dev/mapper/vgroup-root ro quiet
for grub, or something similar. for all such entries, insert cryptdevice=/dev/sda2:vgroup between root=… and ro; that is, the entries should look like
APPEND root=/dev/mapper/vgroup-root cryptdevice=/dev/sda2:vgroup ro
for syslinux and
linux /vmlinuz-linux root=/dev/mapper/vgroup-root cryptdevice=/dev/sda2:vgroup ro quiet
for grub.
change (2014/04/13): in case you want to use grub, it is better to proceed as follows. edit the line GRUB_CMDLINE_LINUX in /etc/default/grub and add cryptdevice=/dev/sda2:vgroup there. then, run grub-mkconfig -o /boot/grub/grub.cfg as described in the beginner’s guide. this automatically adds this to all entries in grub.cfg. end of change.
afterwards, continue with the beginner’s guide. after the next reboot, you should be asked for a password to unlock the volumes. after entering it correctly, the system should boot up as normal.